Prepare PXE server with Virtualbox (OVA)
Introduction
This guide explains how to download, install and run the Workbench PXE tool. This tool allows you to run the Workbench through the PXE protocol, making it possible to run in parallel on several computers simultaneously.
Requirements
Below is a list of the requirements needed to install and use the Workbench PXE tool:
- A PC (server) with the latest version of VirtualBox installed, with a minimum of 2Gb of free RAM and 8 Gb of disk space. Installation guide VirtualBox
- A PC (client) that we want to register, delete data or perform tests to know the status of the equipment.
- Both the server PC and the client PC must have at least one Ethernet cable connection (RJ45 connector)..
- LAN infrastructure, mainly a switch and several Ethernet cables as many client PCs as we want to register in parallel.
Step 1 - How to prepare a computer for use as a Workbench PXE server
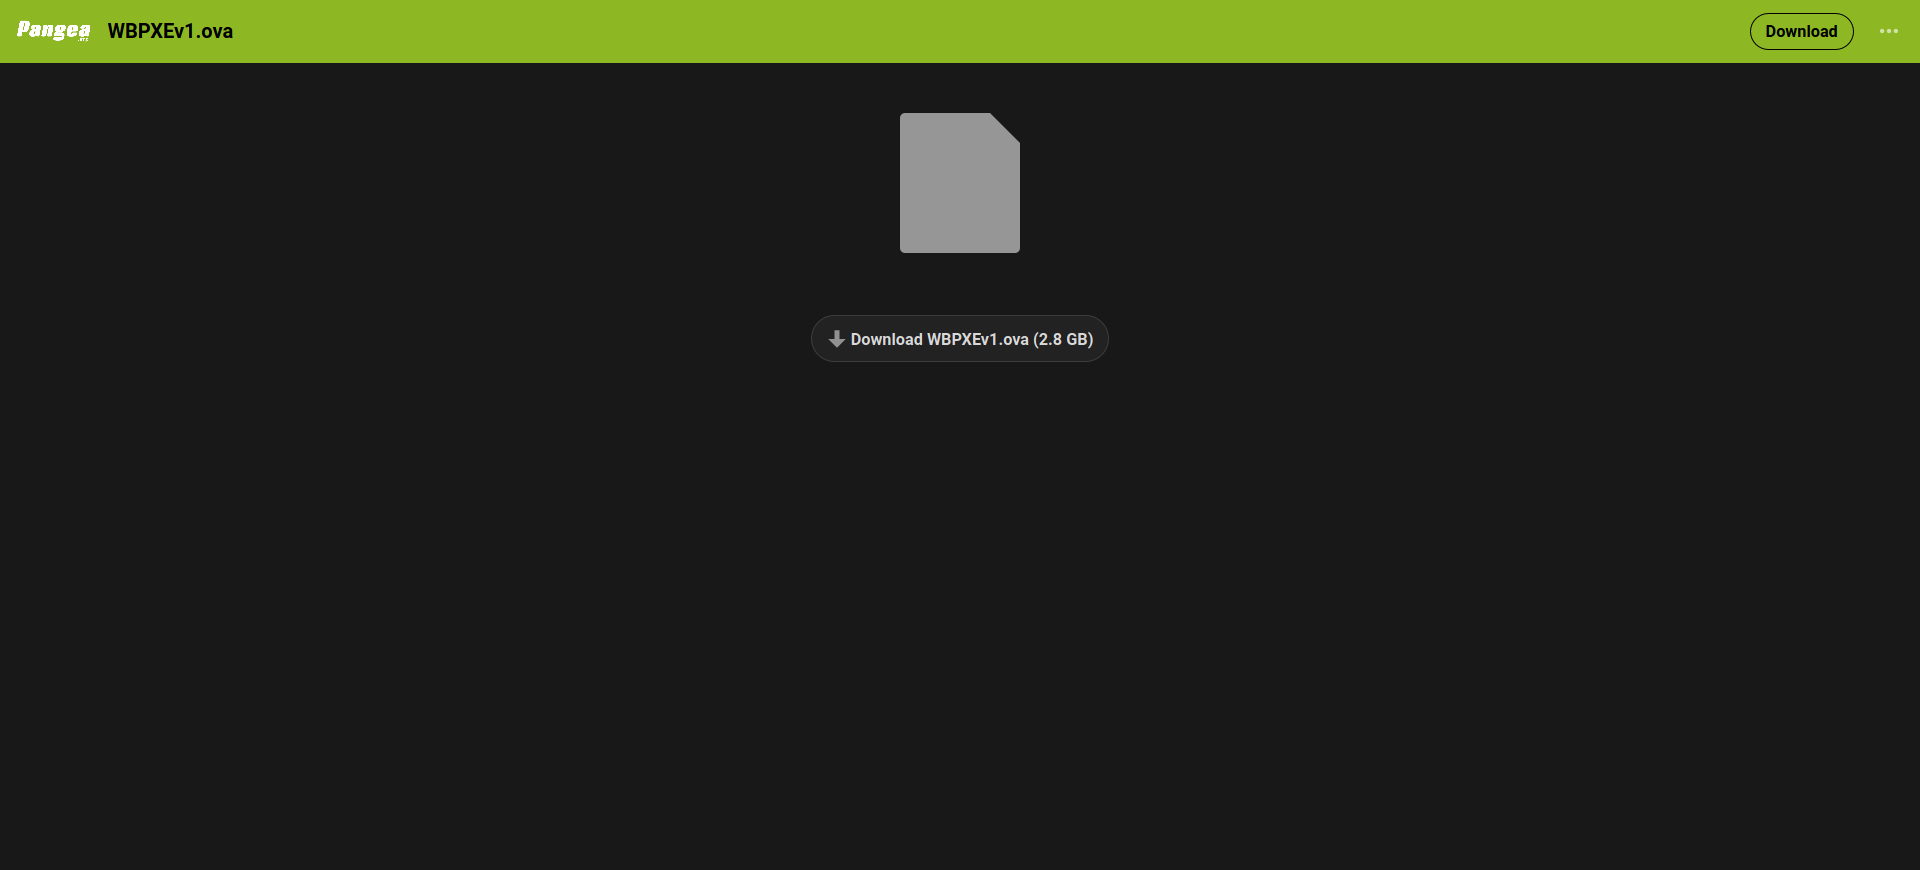
- Download the OVA file and save it on the computer we are going to use as a server. Below is the link to the latest OVA image published.
WorkbenchPXE (click to download): Image generated using VirtualBox version 6.1.6, with Workbench version 12.1.1b.
-
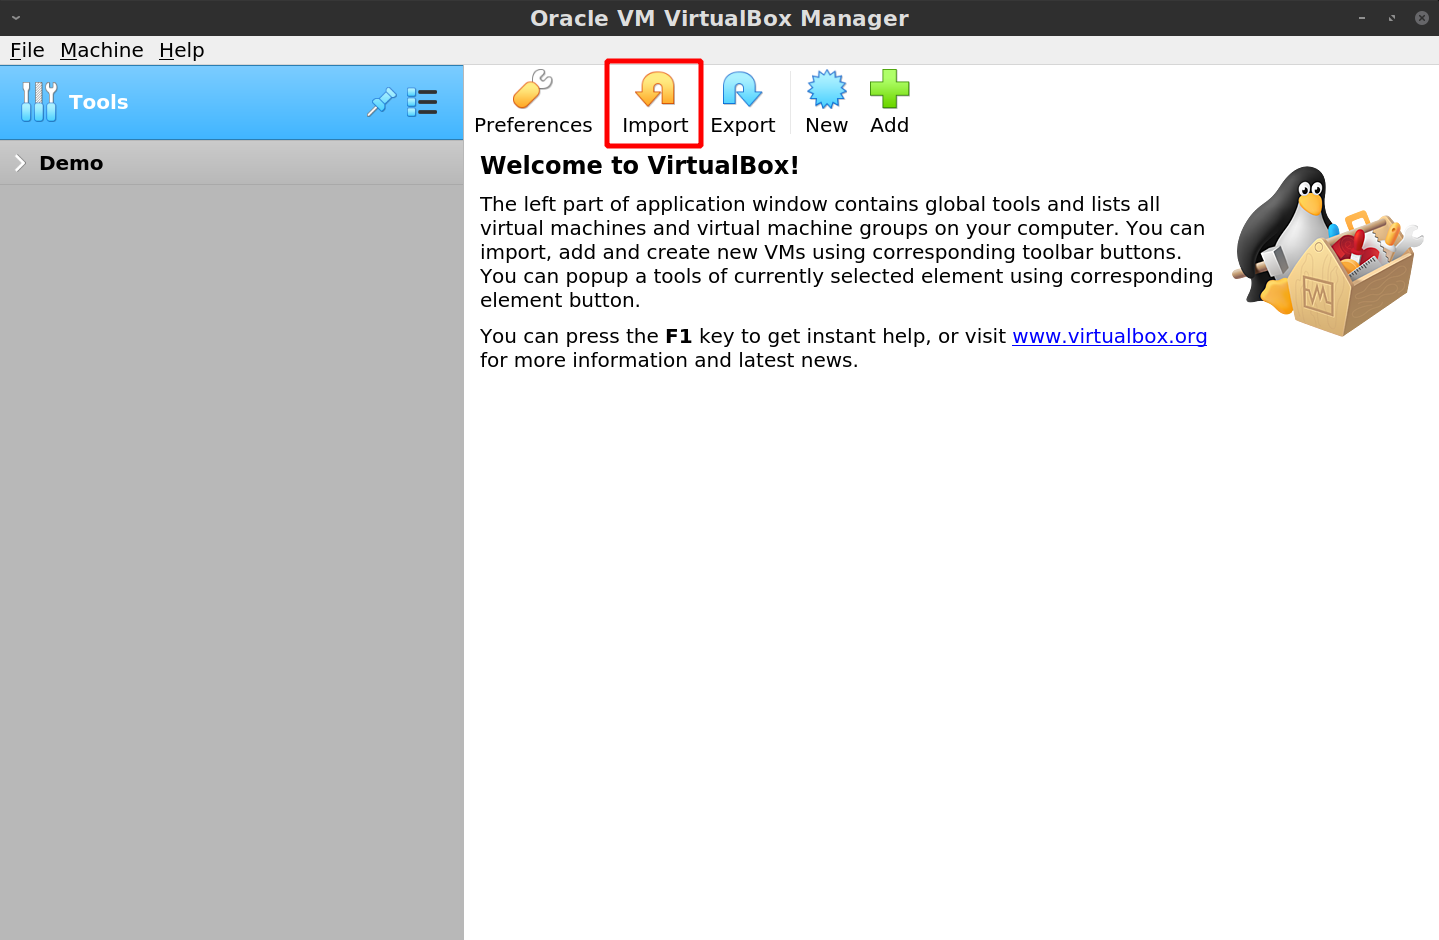
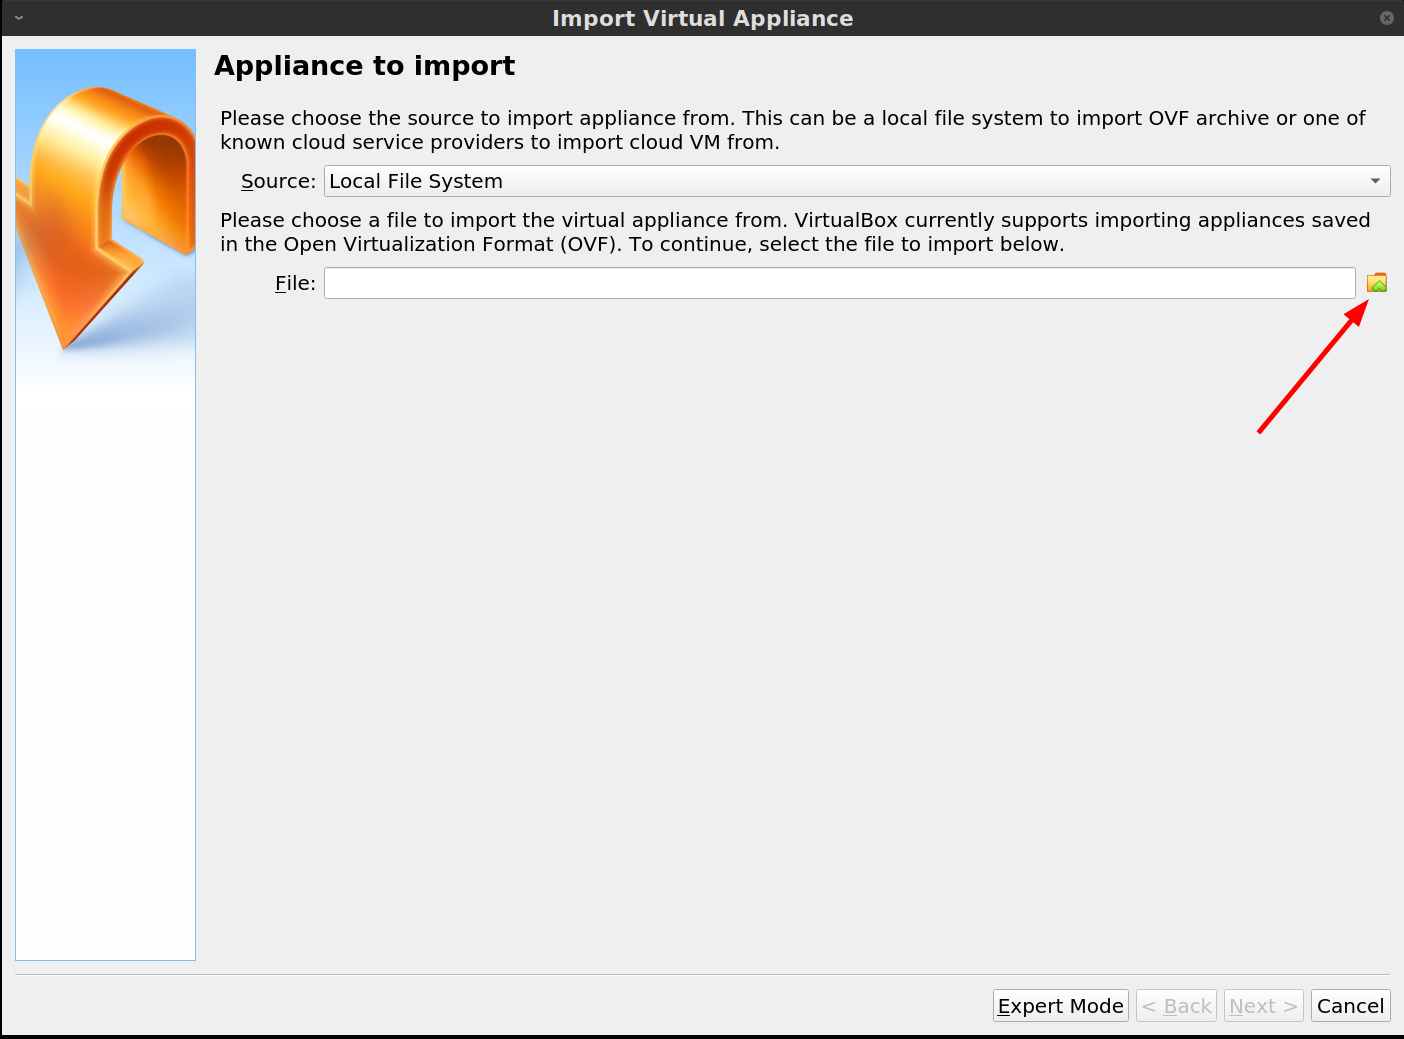
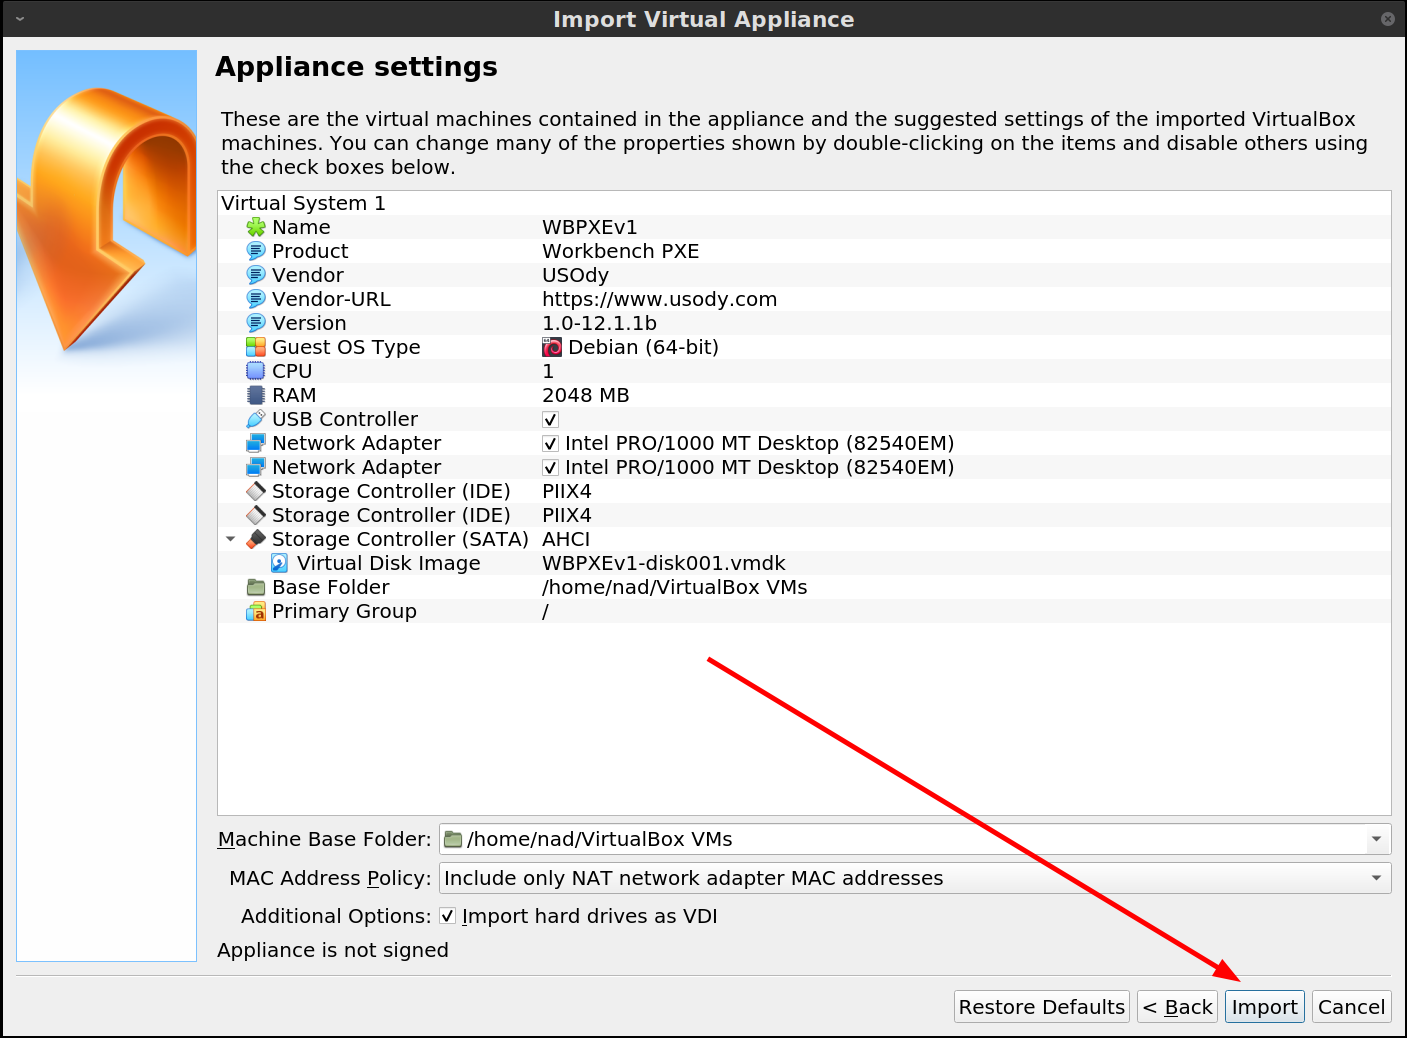
Import OVA image inside the VirtualBox program. File -> Import application and select the OVA file previously downloaded in the previous step.
-
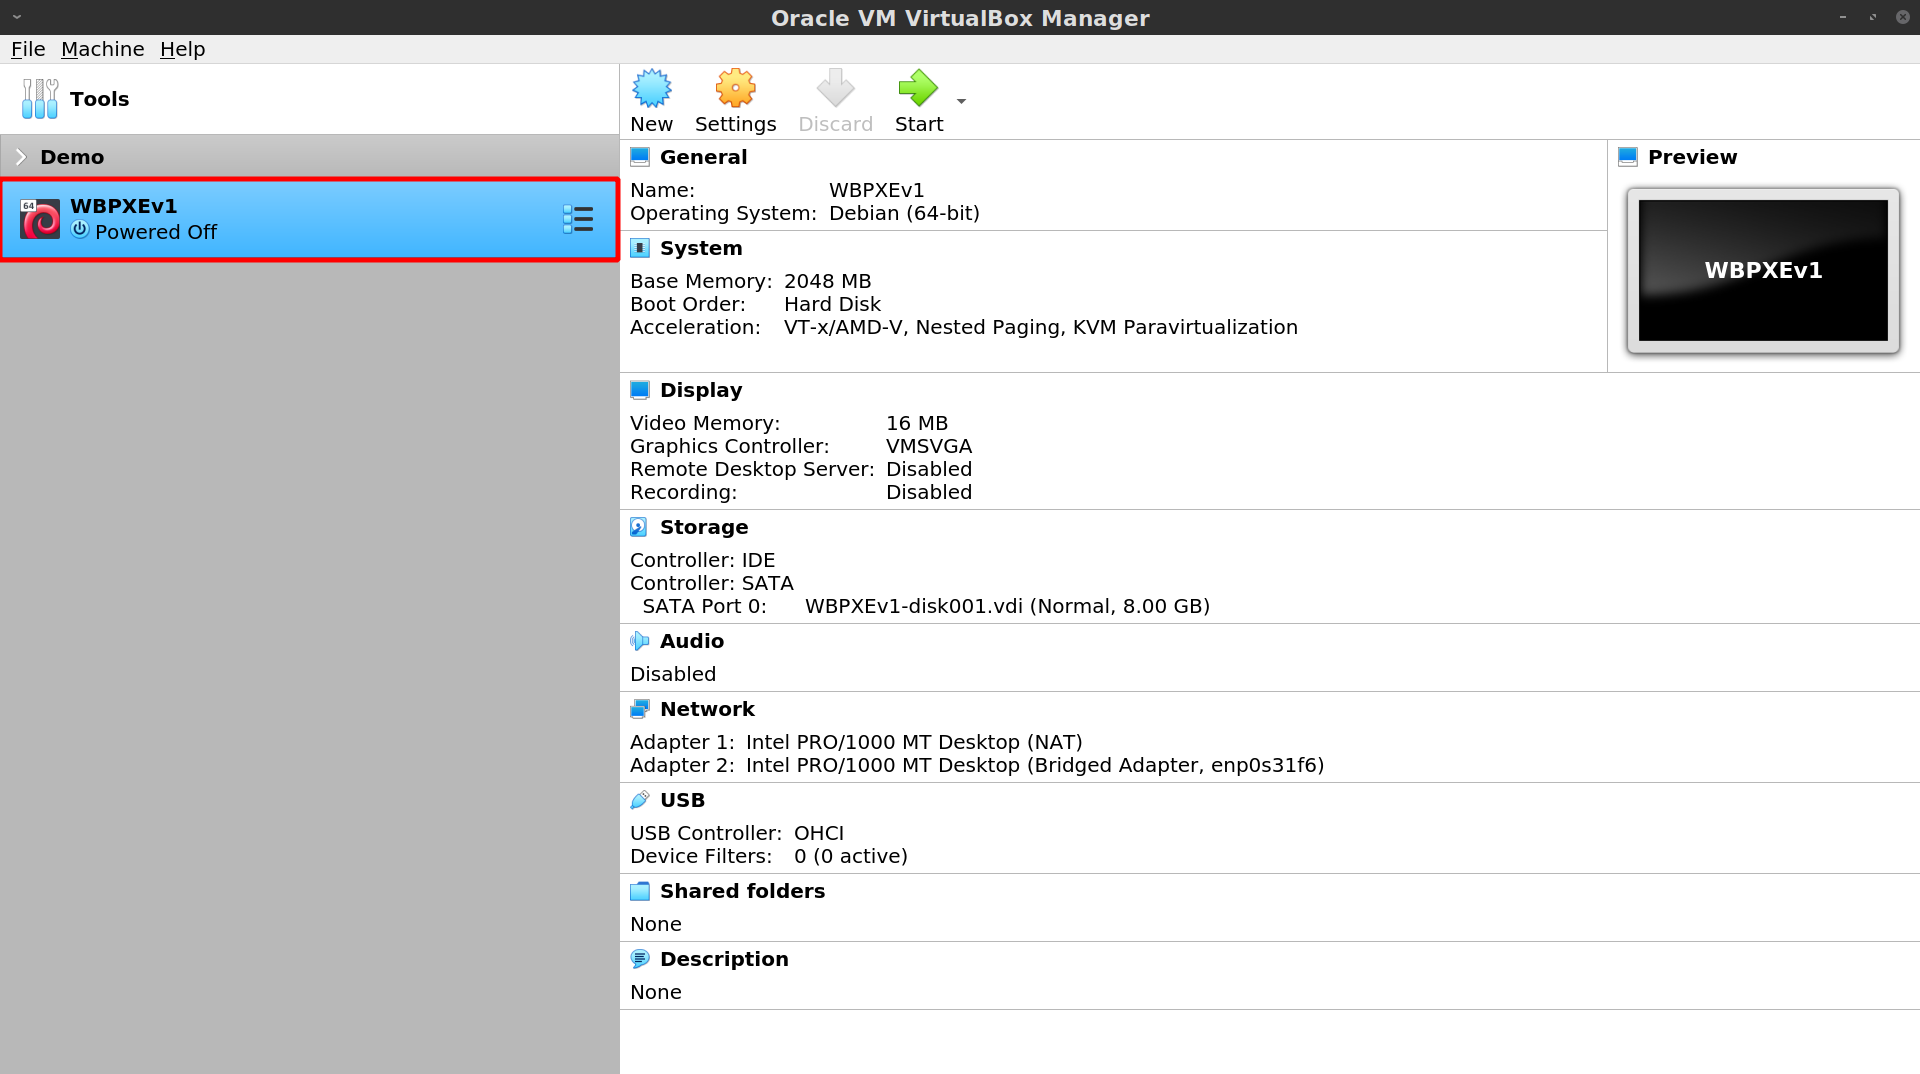
Once the OVA image has been imported, a new virtual machine will appear in VirtualBox.
Step 2 - How to configure OVA Workbench PXE image in VirtualBox
-
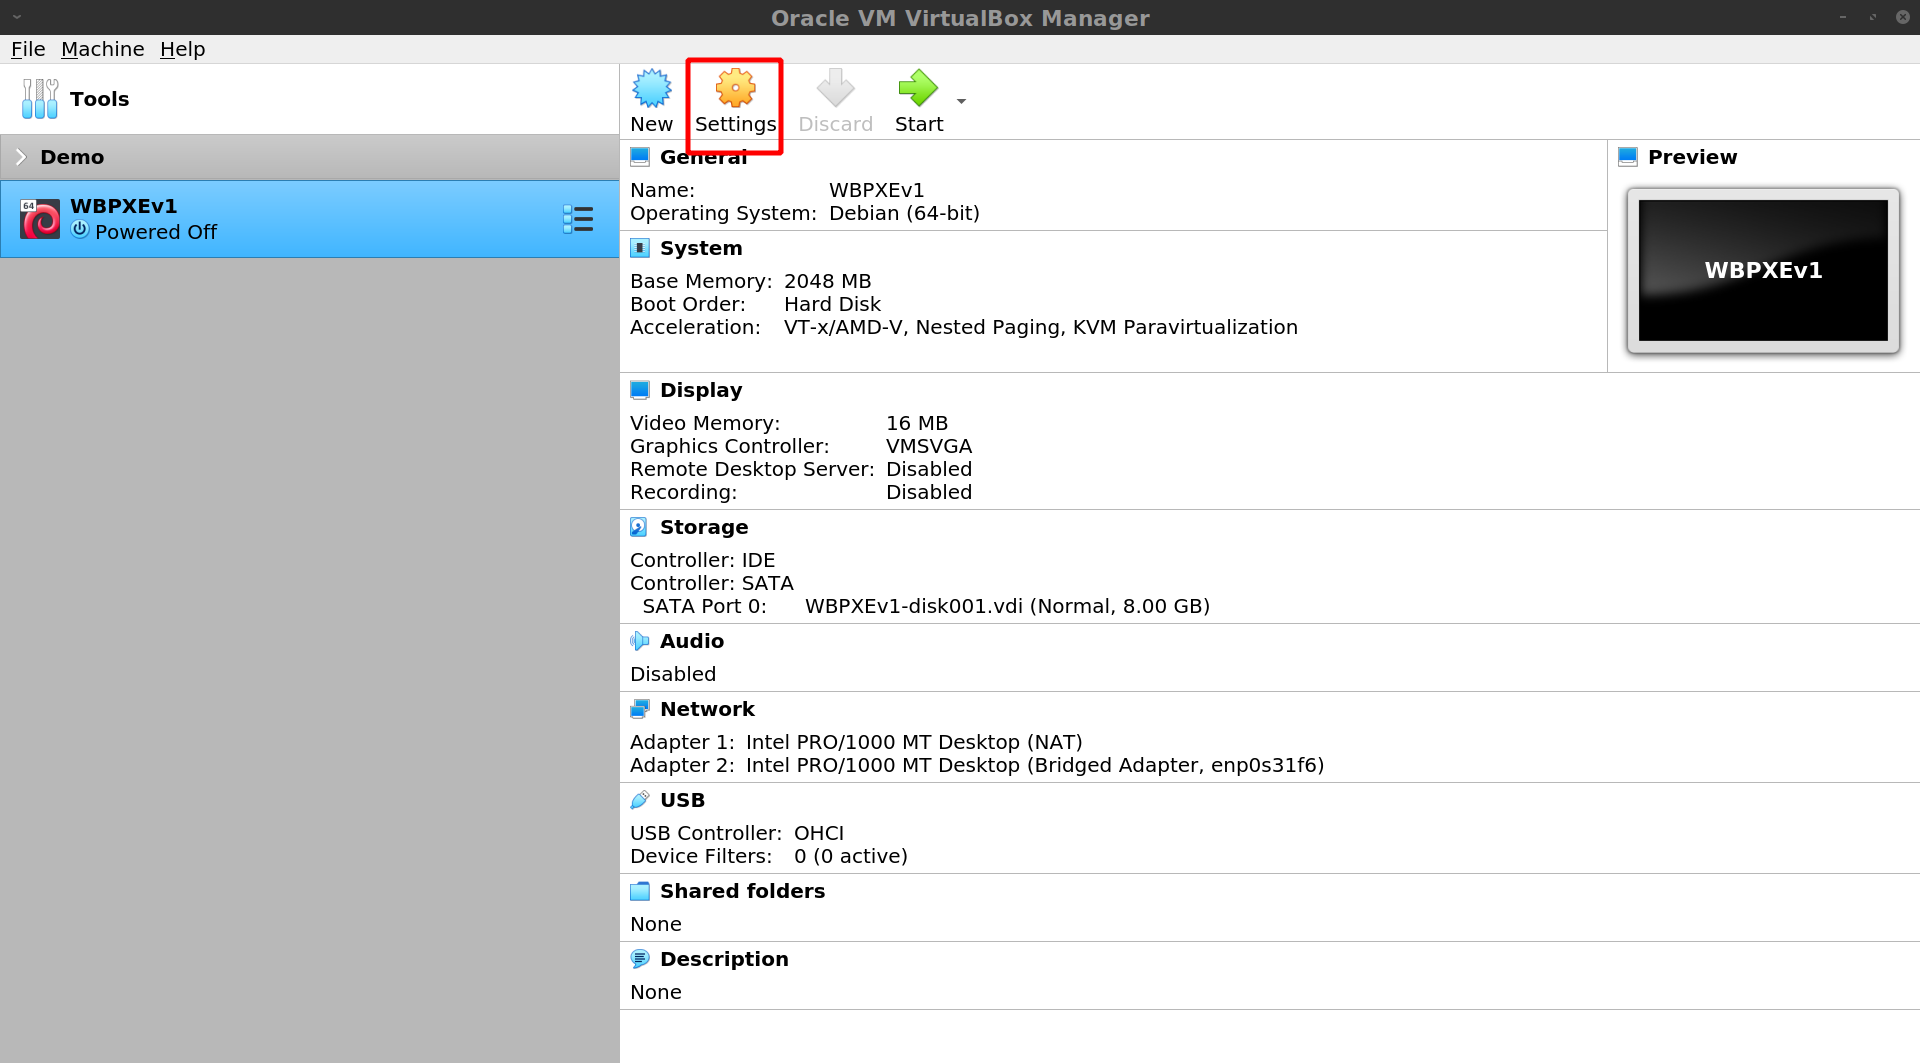
Enter the configuration of the virtual machine (Workbench PXE) imported in the previous step. Select virtual machine and the Configuration icon.
-
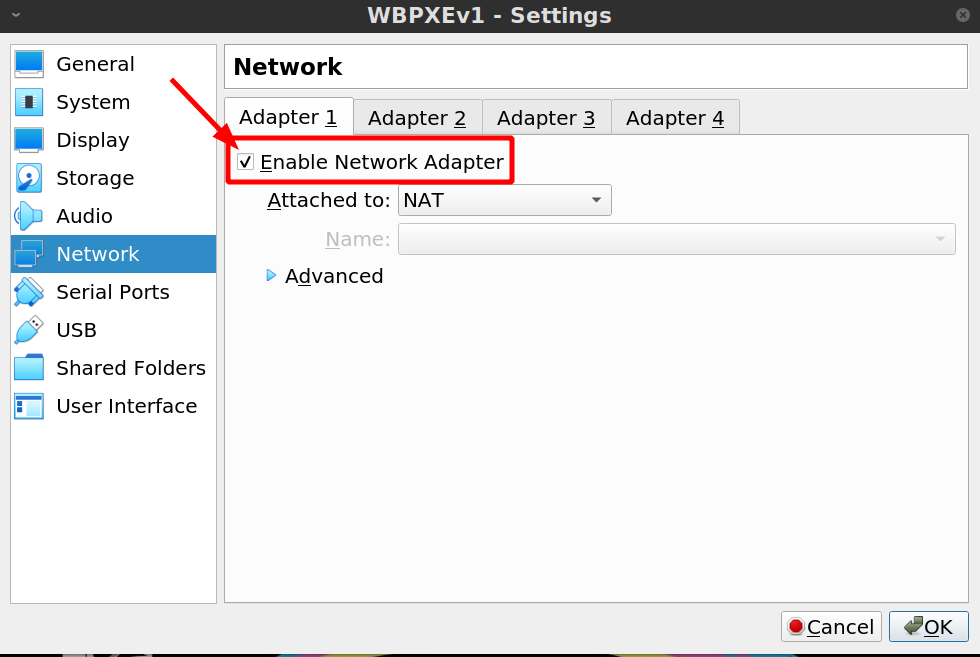
For the correct working of the WB PXE, you have to check that the network configuration in VirtualBox corresponds to your particular network configuration.
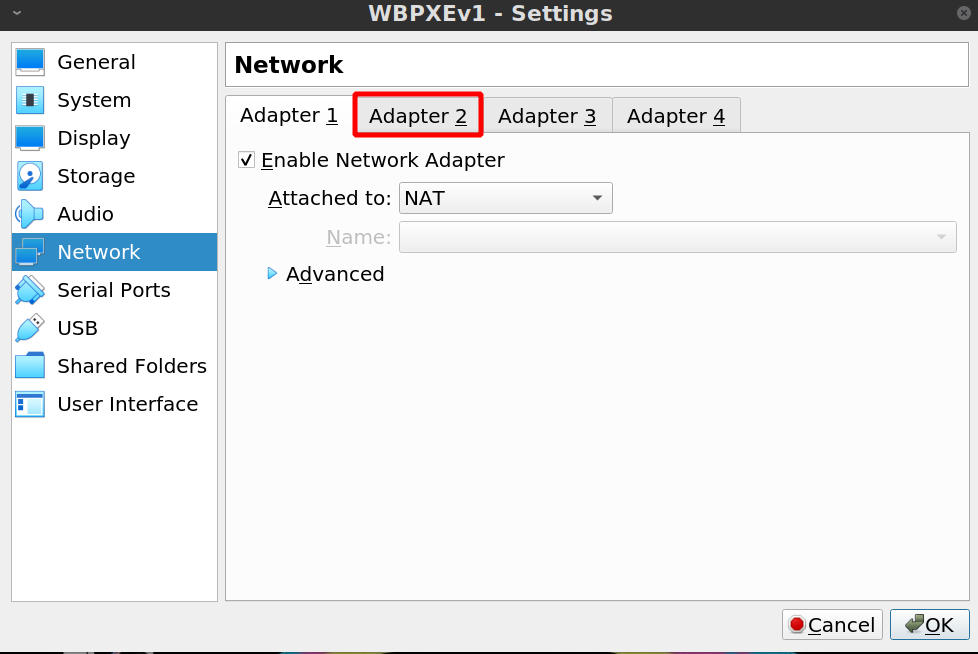
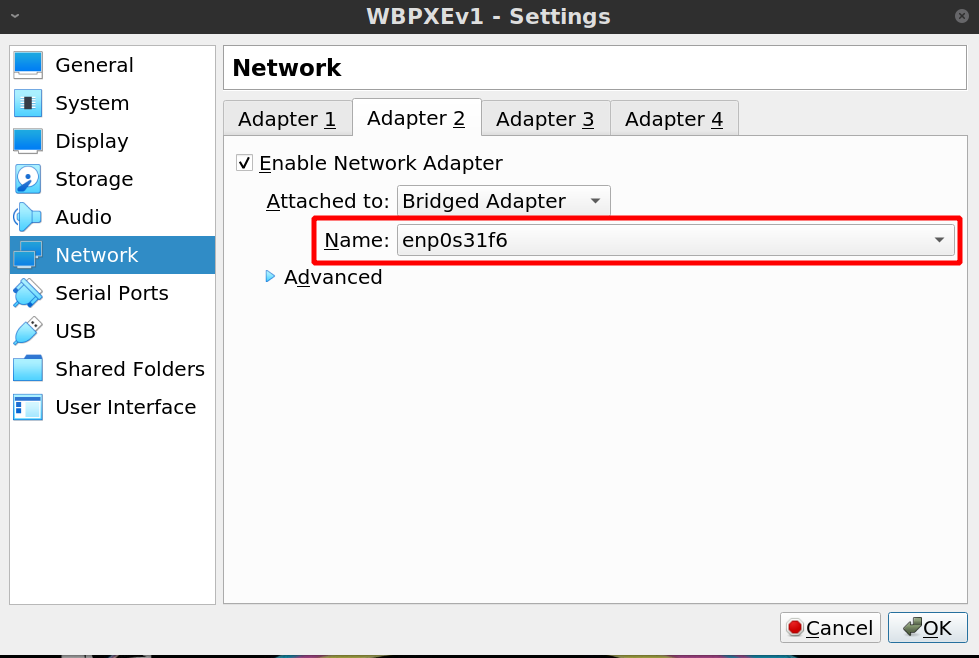
In case you only have one physical network interface. Which is the minimum to be able to start the Workbench by local network via PXE, the Network Adapter 2 must be activated in 'Bridge Adapter' mode and with the network interface where we are going to connect the client PCs on which we want to run the Workbench.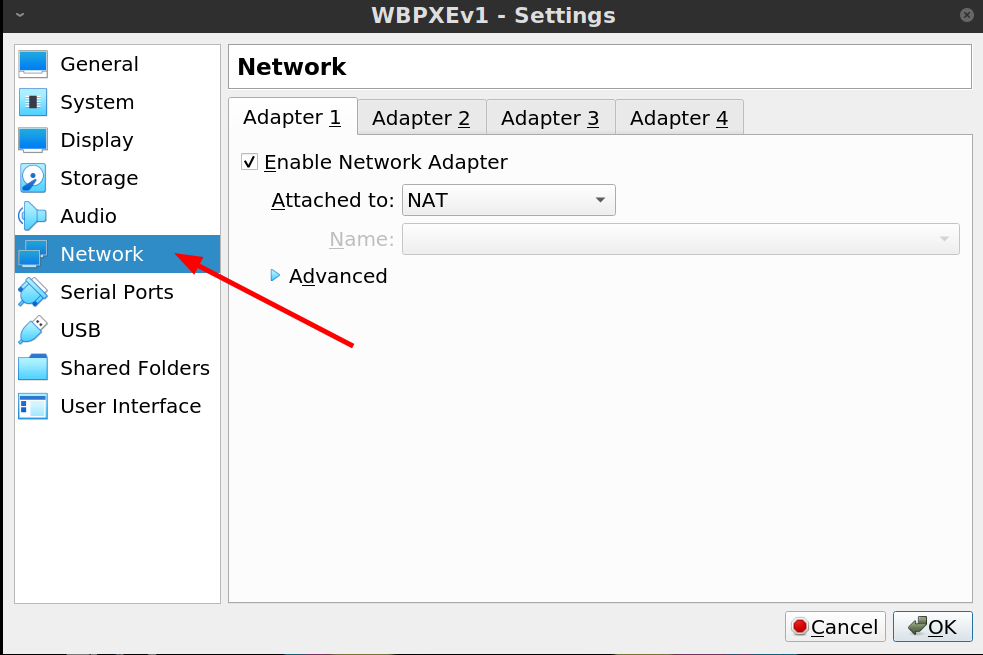
-
Selecting the corresponding interface from the Name drop-down list.
-
In case you want to upload the information directly to the web inventory (Devicehub), network adapter 1 must have a network interface with an Internet connection.
-
If you do not have such an interface, you would have to disconnect the network adapter by 1. disabling the 'Enable network adapter' checkbox.

-
If you have a second interface with Internet access, you would have to set network adapter 1 to NAT mode as default.
Step 3 - How to use the virtual machine server Workbench PXE
Next we are going to explain the basic operation of the Workbench PXE server.
-
Once the virtual machine is started, we will see that there are 4 different icons on the desktop, we will explain them in order starting with the top one downwards.
Trash bin, in case of deleting something, it will go there.
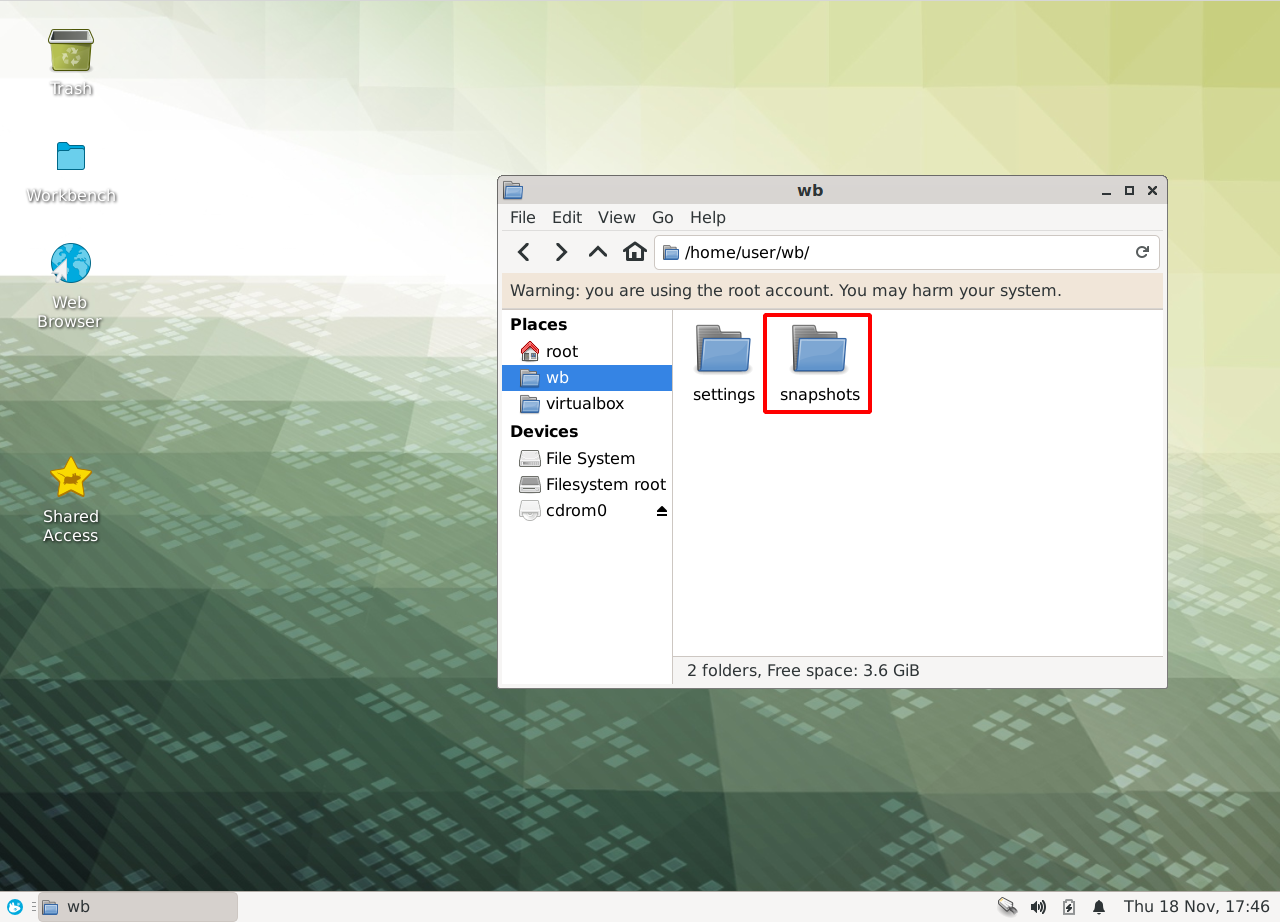
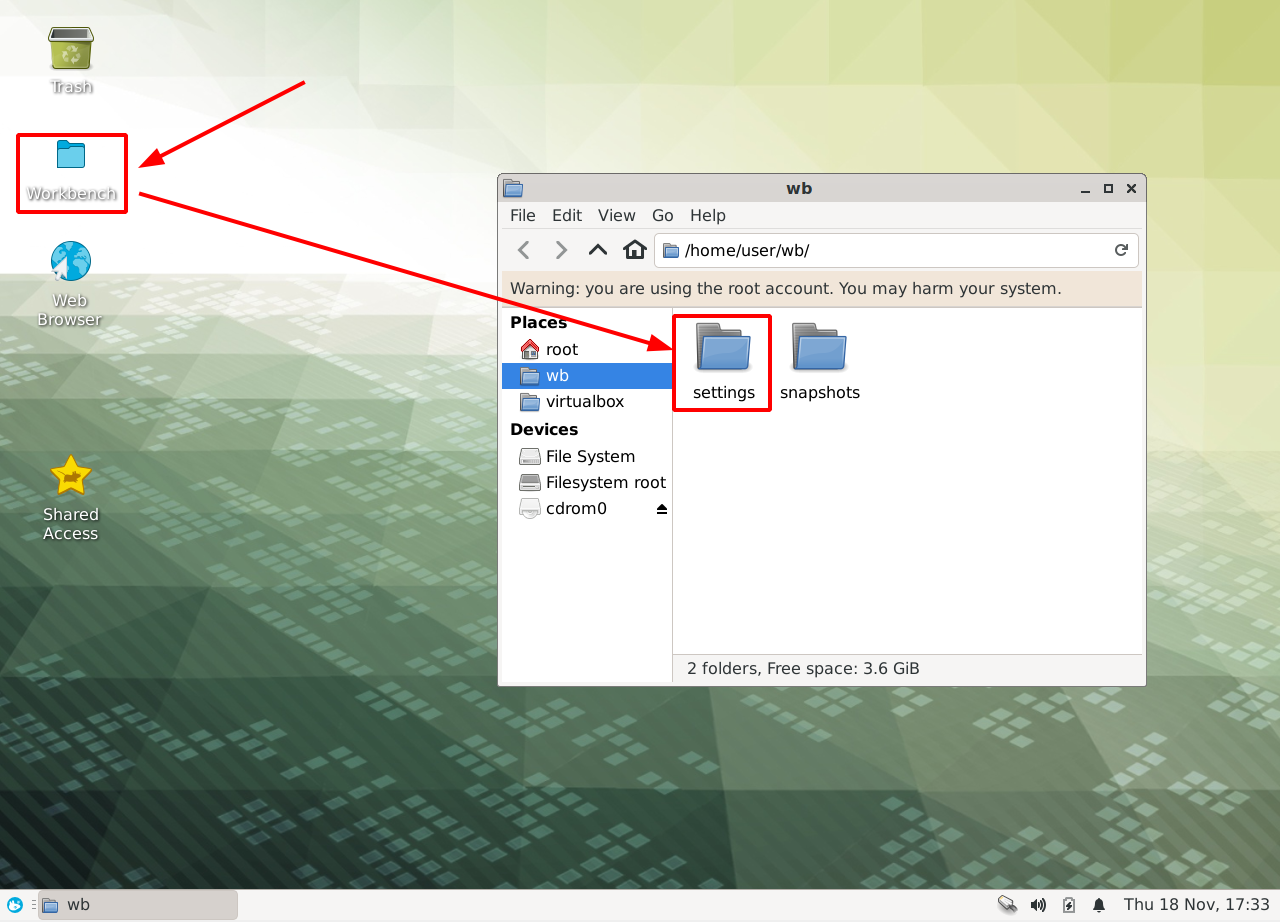
Direct access to Workbench folder. Inside this folder we are going to find the settings.ini file and also the snapshots (json) that the Workbench generates.
Web browser (Firefox) with which we can (if we have Internet from the virtual machine) open the Devicehub web inventory or browse through Internet.
Direct access to the shared folder Virtualbox, in this case we are only going to use it in case of mounting a shared folder between the virtual machine and the host computer. (ex. Windows).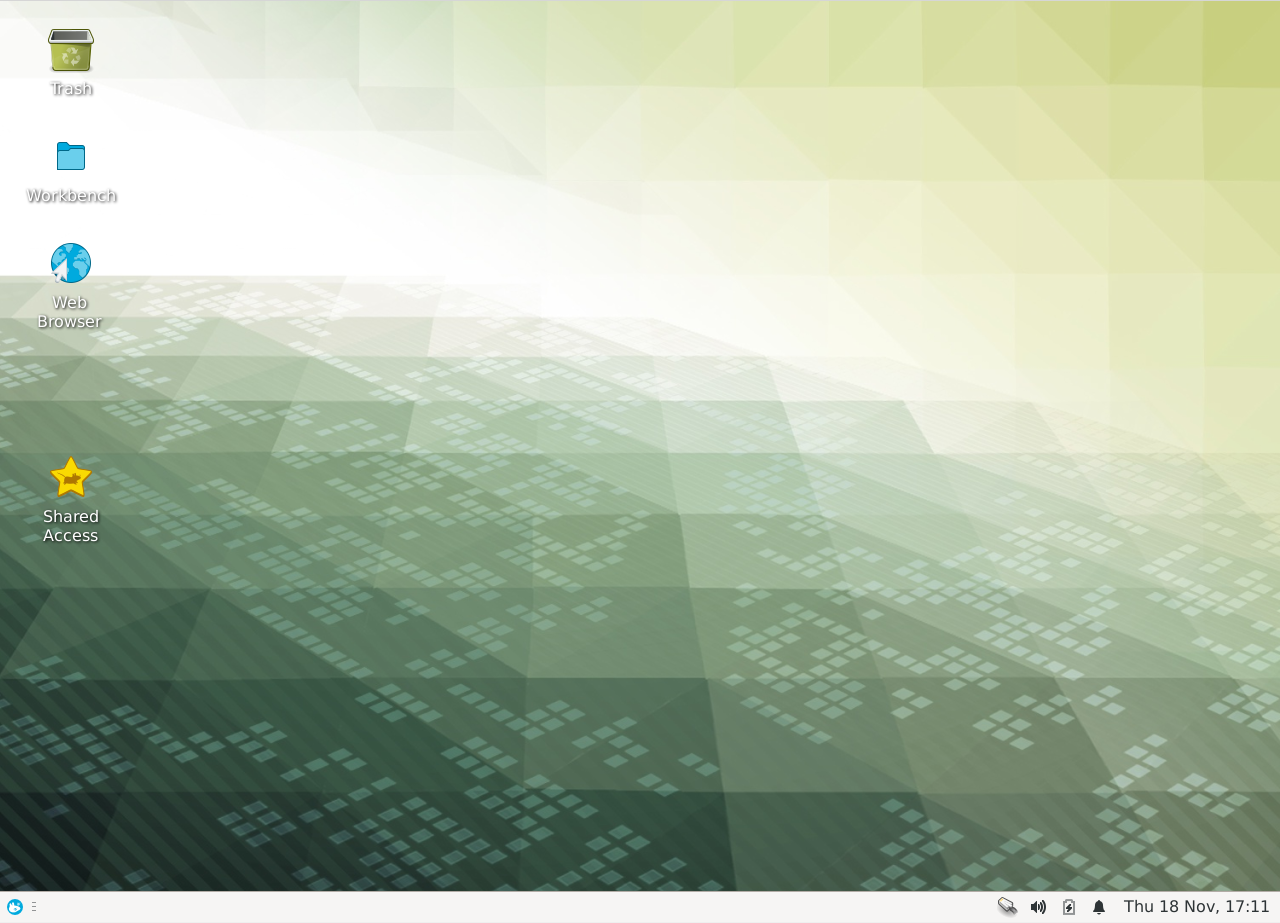
-
For the data generated by the Workbench to be uploaded to your user's private Devicehub and for the Workbench to execute a specific configuration. You have to replace the default settings.ini file with your private settings.ini file with the specific configuration you want in each particular case. The path to the file is '/home/user/wb/settings/settings.ini'.
Step 4 - How to replace settings.ini file with your private settings
-
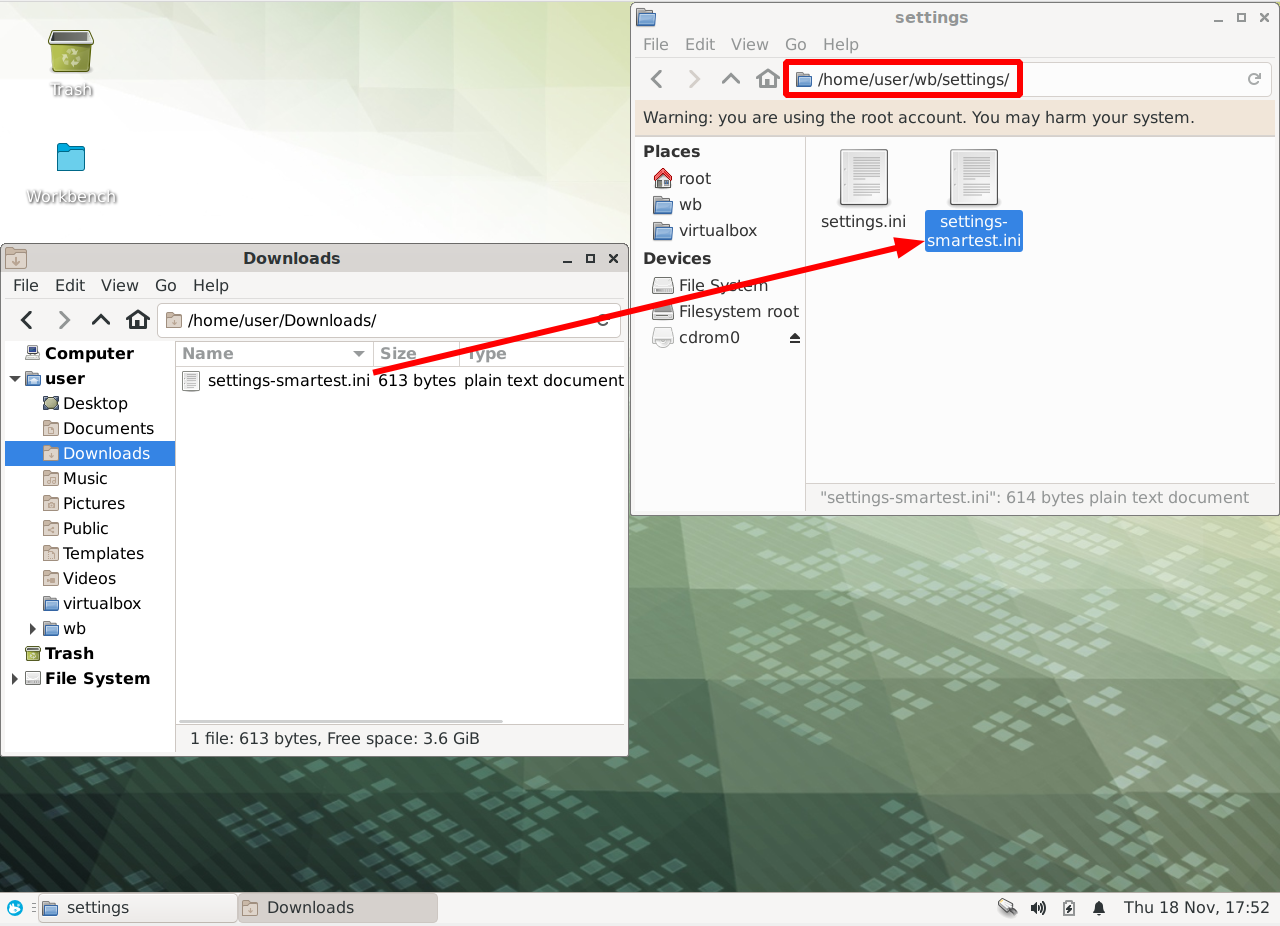
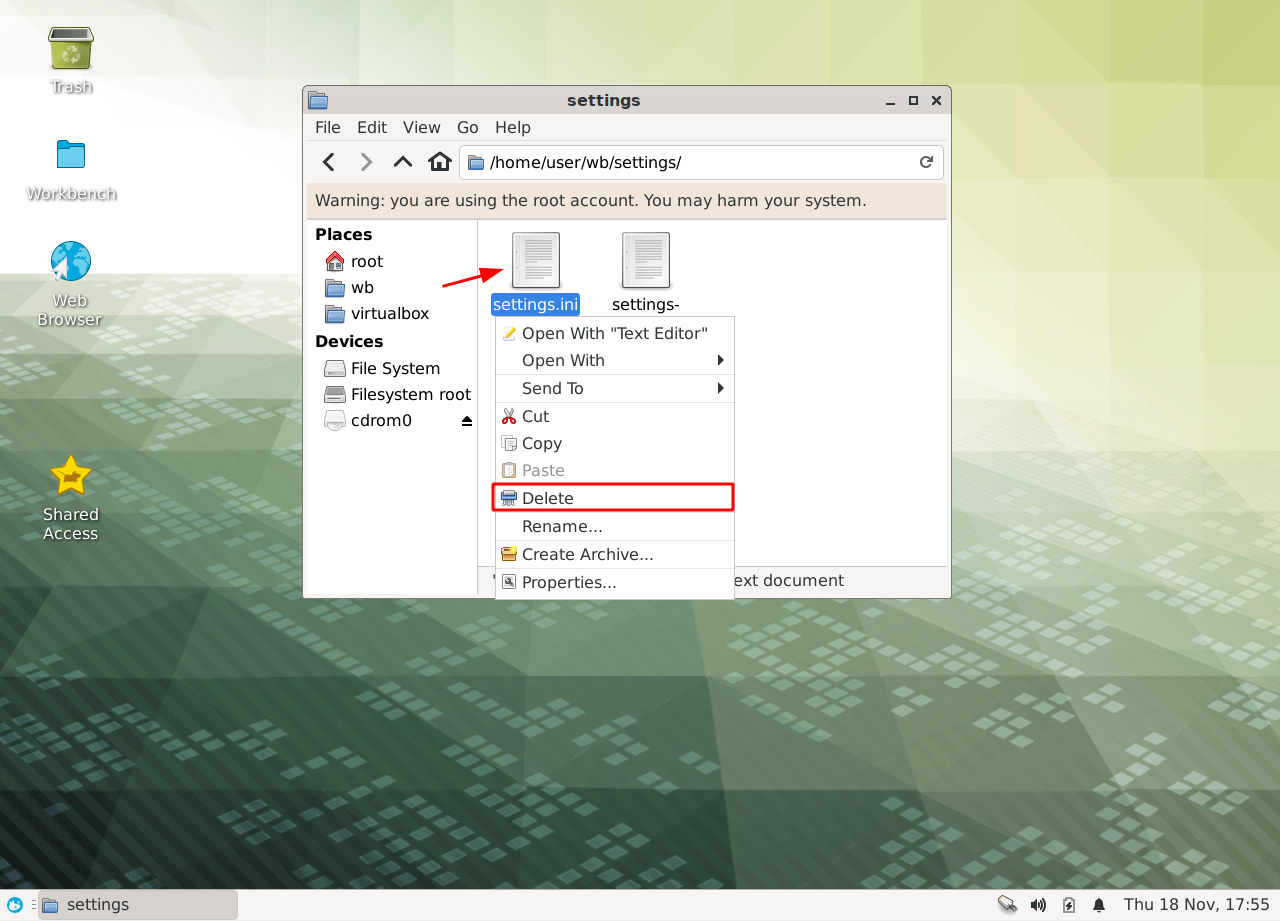
Download the settings file if you have a private user inside Devicehub. Then copy the settings.ini file into the path '/home/user/wb/settings/' as shown in the following image.
-
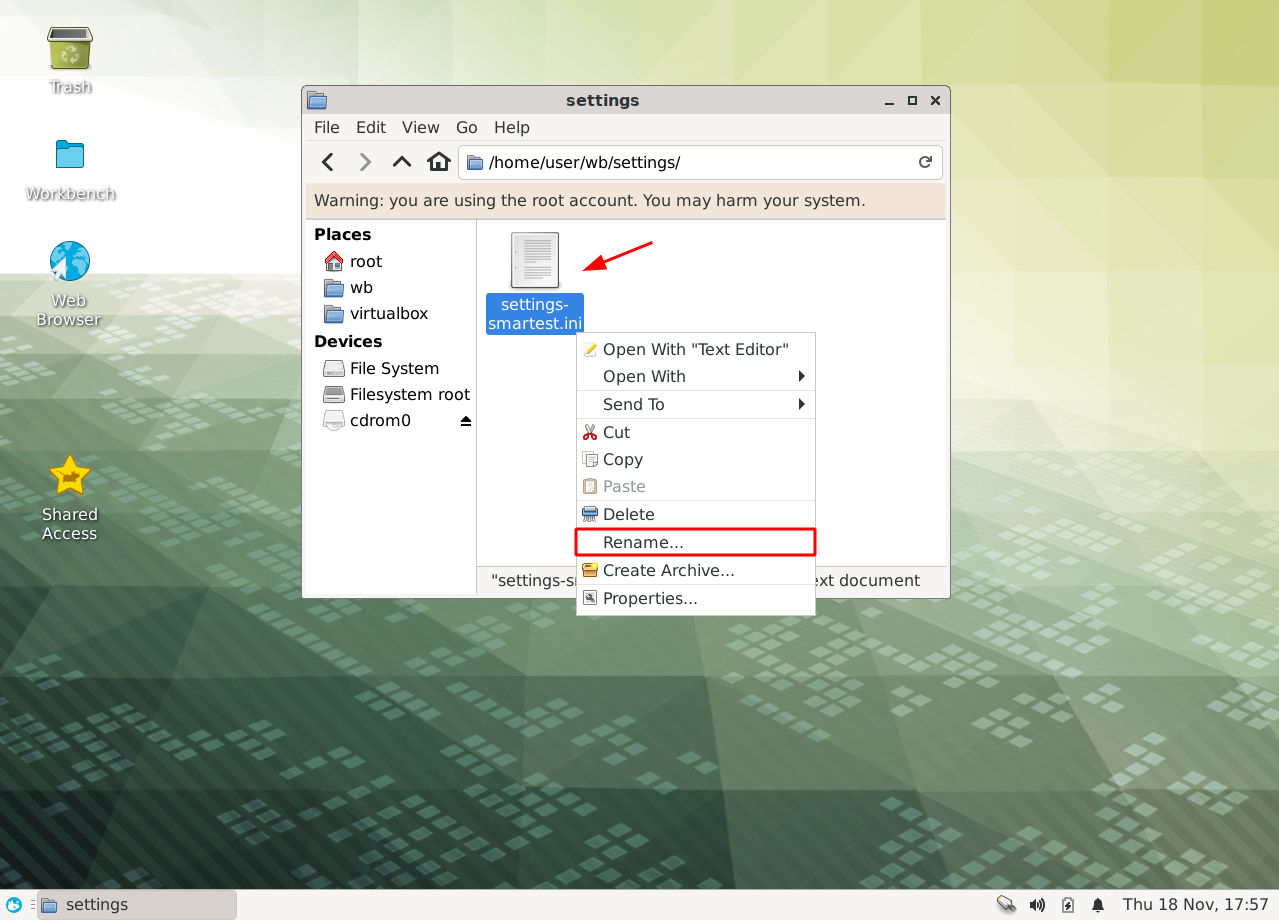
This is very important! Delete the current settings.ini file and make sure that the file copied in the previous step has the name settings.ini.

Step 5 - How to run Workbench on client PCs
-
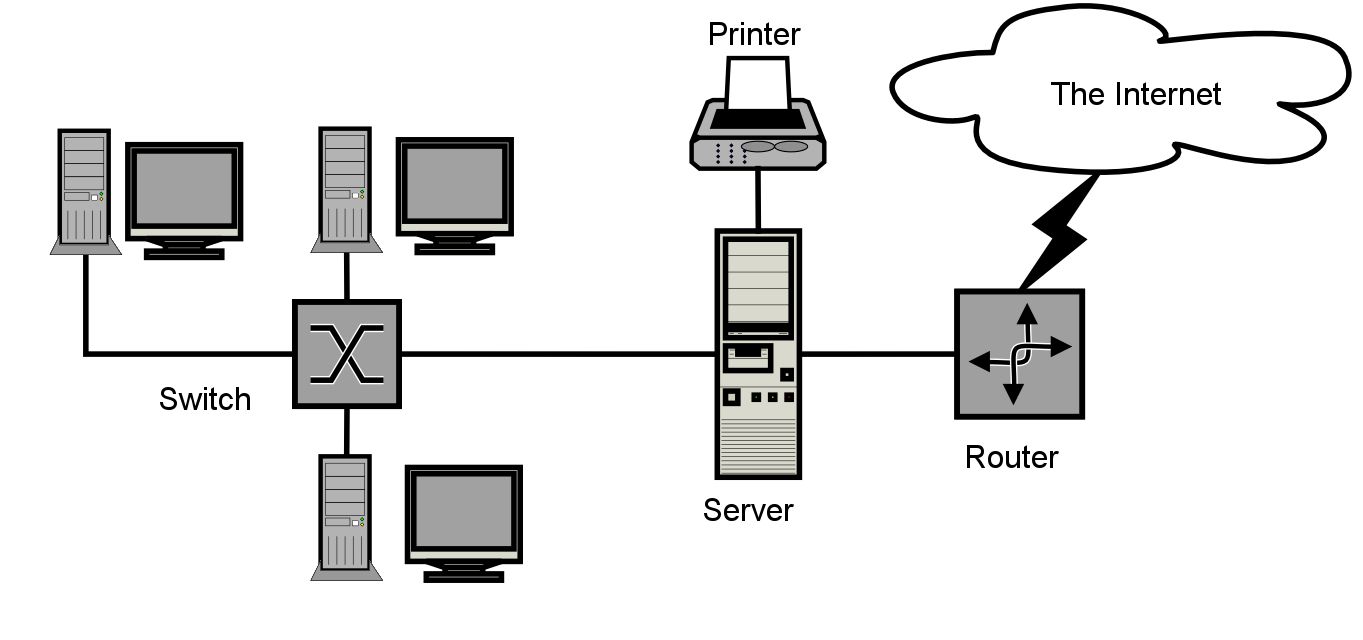
We start from the point that we already have a LAN infrastructure in place, similar to the following image:
-
Connect Ethernet cable to the client PC where you want to run the Workbench.
-
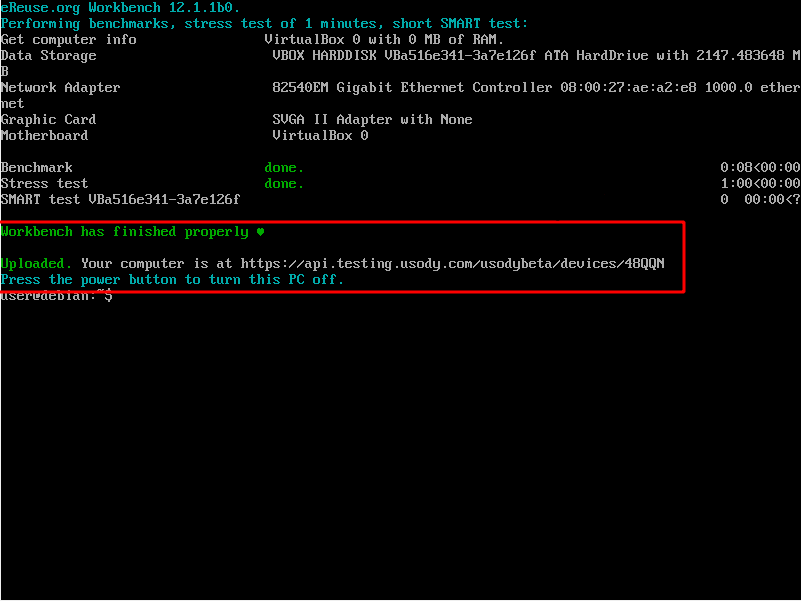
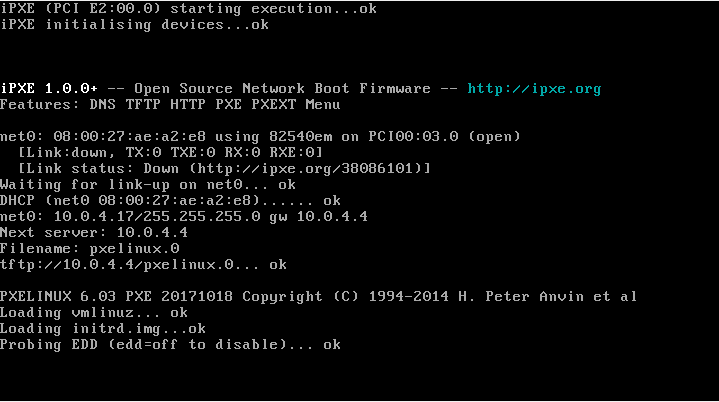
Boot the client PC via PXE. You can preconfigure the Bios by default with first boot option is via network (PXE). Then all you need to do is switch on the computer with the Ethernet cable connected. If the client computer has a screen, you will see the following screen:
-
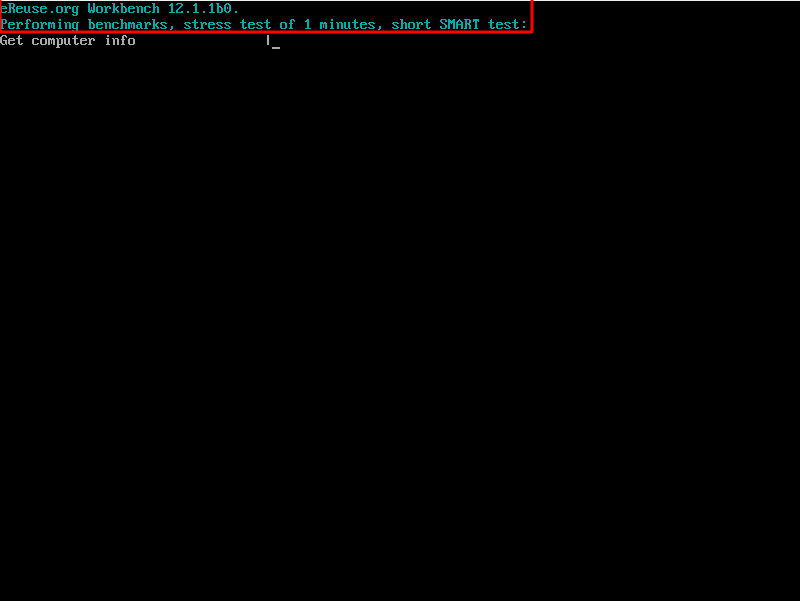
The first two lines when running the Workbench, represent the version and the configuration of the tool respectively, as can be seen in the following image:
-
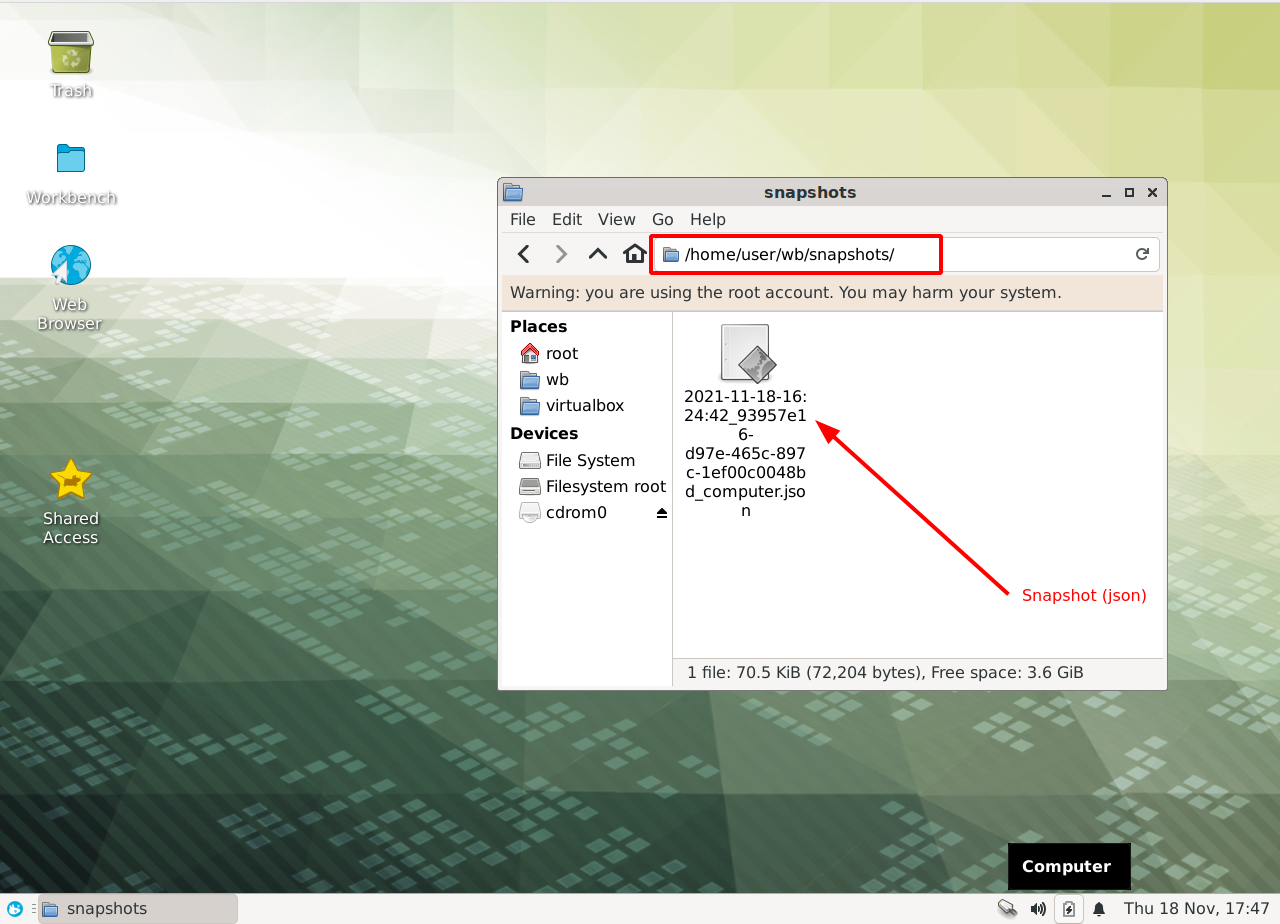
Wait until the execution is finished and the snapshot file (json) is generated inside the folder '/home/user/wb/snapshots/ and the information is uploaded to Devicehub in case the virtual machine has an Internet connection through the network adapter 1.